By Matt Fussell
In this tutorial, we’ll take a look at drawing a loose portrait from the side or “profile” view. Instead of focusing much on facial proportions, we’ll take a deeper look at the medium of charcoal, it’s various forms, and how they can be used interchangeably in a drawing. More specifically, we’ll look at using powdered charcoal in a drawing.
If you want to go deeper with portrait drawing, including facial proportions, and drawing different views of the face, be sure to check out the portrait drawing and painting collection of tutorials.
Charcoal is burnt organic material - typically wood, that is used for making marks on a surface. Charcoal comes in several different forms - stick, powdered, or in a pencil. Different varieties, or grades of charcoal exist as well. “Vine” charcoal is softer and makes a lighter mark, while compressed charcoal is harder, but makes a darker mark. White charcoal also exists, which is a pigmented version of the medium. A bit more on charcoal as a medium can be found here.
Many artists prefer using charcoal over other mediums for several reasons. Charcoal, unlike graphite, doesn’t have a shiny finish. So, blacks are rich and dark. Graphite is capable of producing dark values, but the end results produces a surface that is shiny and reflective under light.
Charcoal can also be easily spread or blended. Graphite can also be spread and blended, but charcoal can be spread with less effort - covering larger areas, in a shorter amounts of time.
Charcoal can also behave in a similar manner as oil paints - allowing the artist to “push and pull” darker and lighter values during the drawing process. Charcoal can be added to make areas darker, but it can also be removed using a kneaded eraser to lighten values or create highlights.
Powdered charcoal
is a material that consists of pulverized charcoal. Charcoal material is crushed into small powder-like pieces resulting in powdered charcoal.
 Powdered charcoal is typically applied by brushing it into the surface, but it can also be poured onto the surface and spread.
The manner in which powdered charcoal is used in a drawing is ultimately up the creativity of the artist. Mostly, it is used as a means of toning the paper. (Paper can also be toned in a similar manner by applying vine charcoal to the surface and then working it in to the surface with a paper towel or chamois.
Toning the paper allows the artist to work from a neutral value or midtone. Darks can be pushed darker, while light values can be created through erasing. This is a clear advantage since creating a full range of value should always be an important consideration in a drawing. It is much easier to attain a full range of value when the middle values have been established on the surface.
There are a few considerations to keep in mind when using powdered charcoal. The most obvious one is the mess that it will create. Just opening a bottle of the medium will produce a dark cloud of dust. The tiny pieces that float out drift in the air and land on objects, producing a dusty haze. So, be sure to use the medium in an area that you don’t mind making a little dirty.
A warning label can be found on the product as well. The dust that is expelled from the product is obviously not good to breathe, but in case you couldn’t figure that one out - they’ve got a label.
Powdered charcoal should be used in conjunction with traditional charcoal. The medium alone will not produce the dark values necessary for a complete drawing. It is great for toning areas on the surface - especially during the drawing process. (Toning the paper at the start of the drawing can be accomplished using vine charcoal, but toning the paper during the drawing is made much easier with powdered charcoal.)
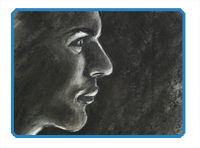
Here’s a look at quick sketch and how powdered charcoal can be used in the process...
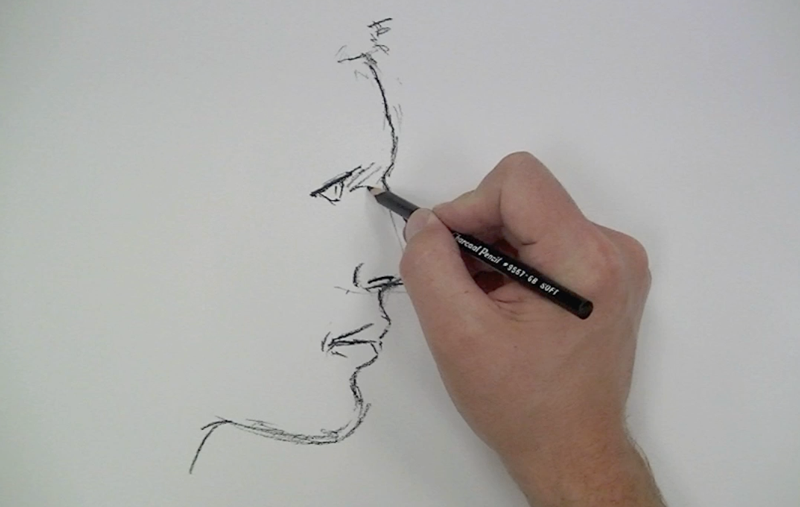
The drawing begins as a contour line drawing of the profile of the face. The lines are drawn using a compressed charcoal pencil.
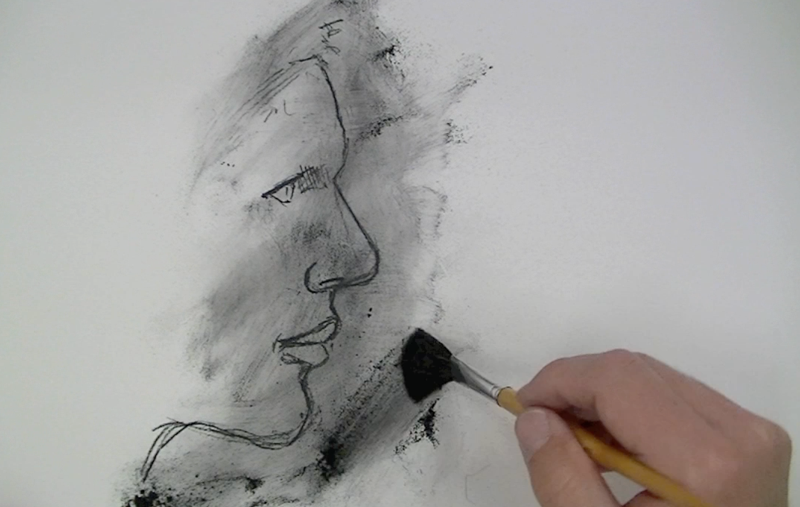
Next, powdered charcoal is applied using a pony hair brush. The powdered charcoal is simply lifted from the container onto the drawing surface and moved around and into the drawing paper. For darker values, more of the powder is applied.
Excess powder is brushed or blown away and drawing continues using the compressed charcoal pencil.
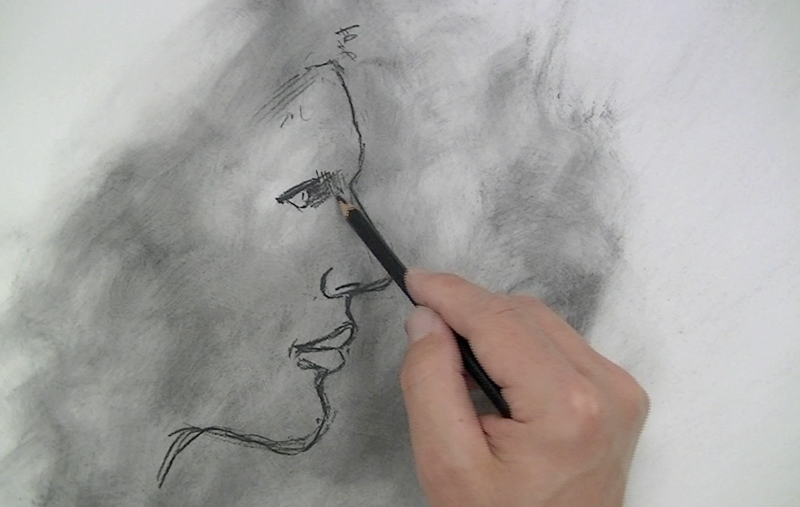
Darker areas on the face are addressed with the compressed charcoal. A thin line is left on the edge of the face for the highlights that will be added later in the drawing.
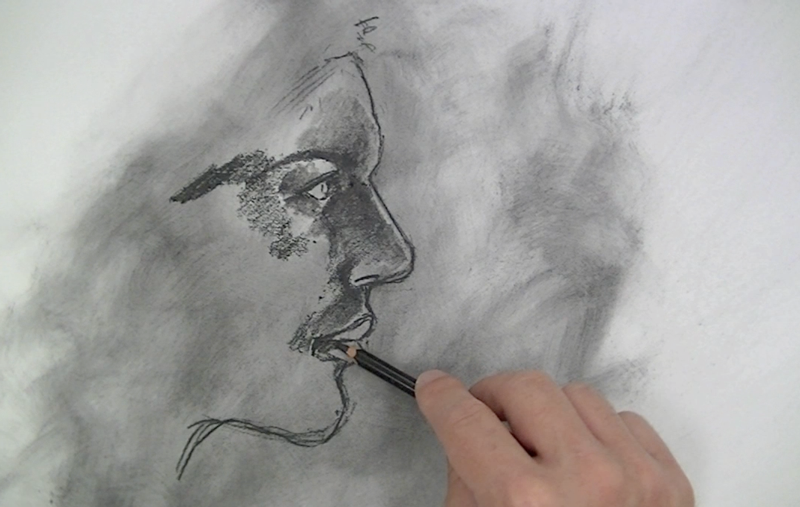
A softer stick of compressed charcoal is used in the areas of darkest value. These areas are smoothed using a finger.
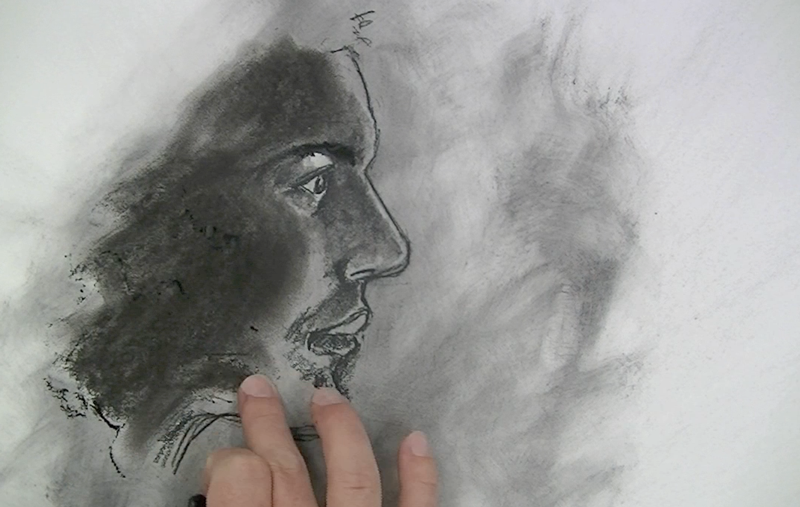
A kneaded eraser is used to lift the medium off of the surface, enhancing the light and intensifying the highlights.
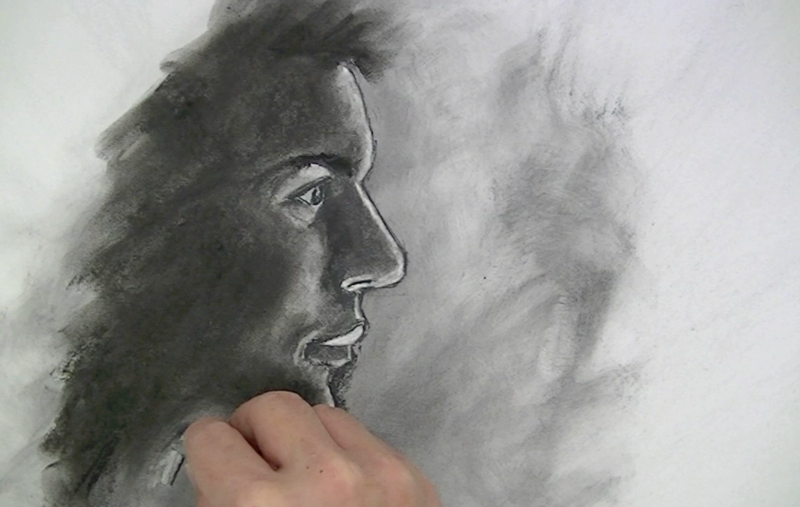
To increase the contrast in value further, compressed charcoal is added to the background.
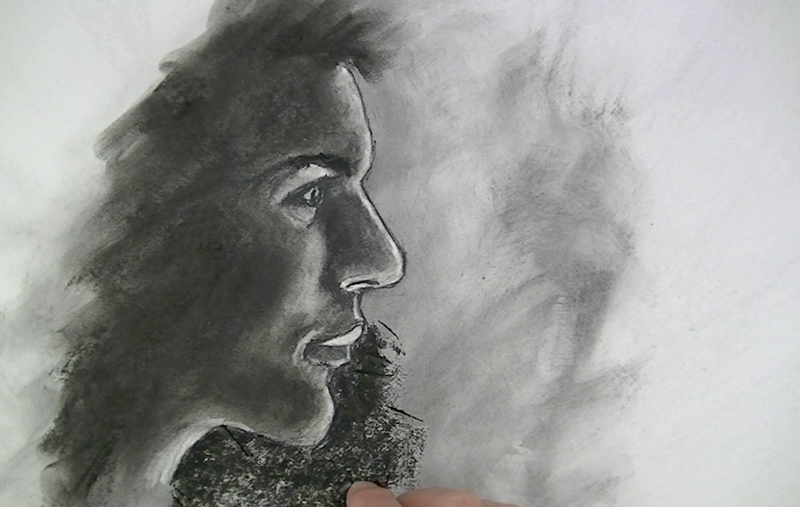
The charcoal added to the background is worked into the surface of the paper to create a smooth surface.
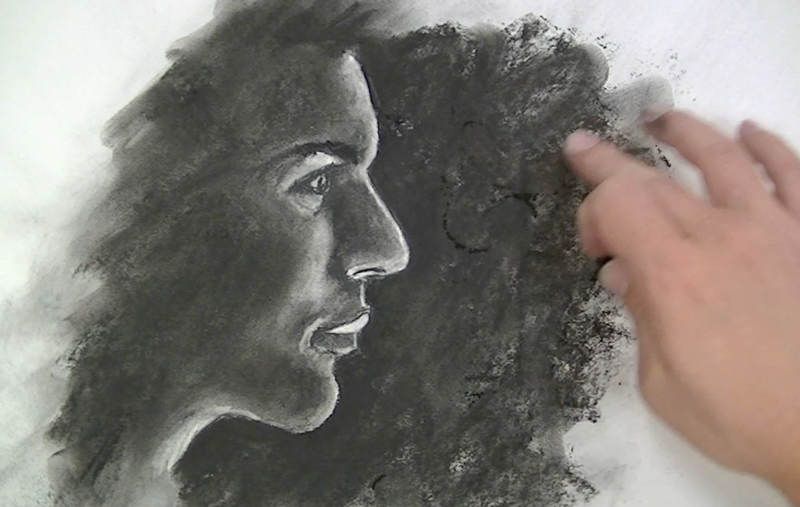
To lessen the strength of the edge that is created by the strong contrast in value between the highlight and the background, a brush is swept over the entire drawing.
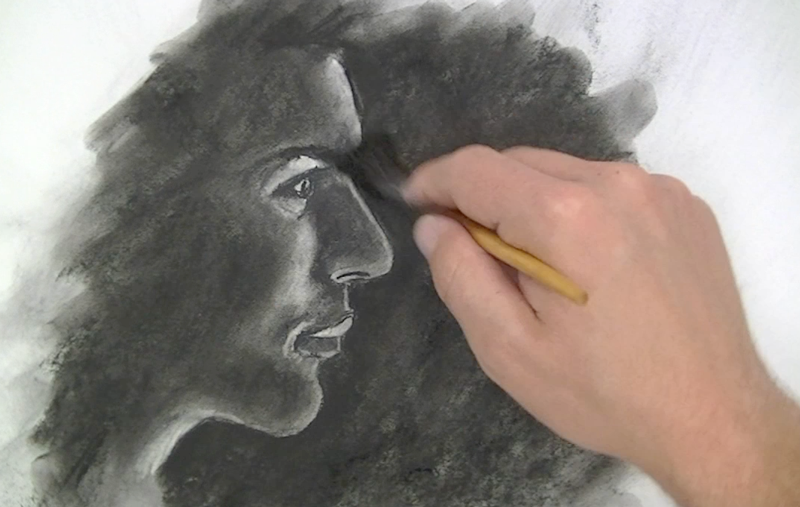
Lastly, highlights are erased again in areas.
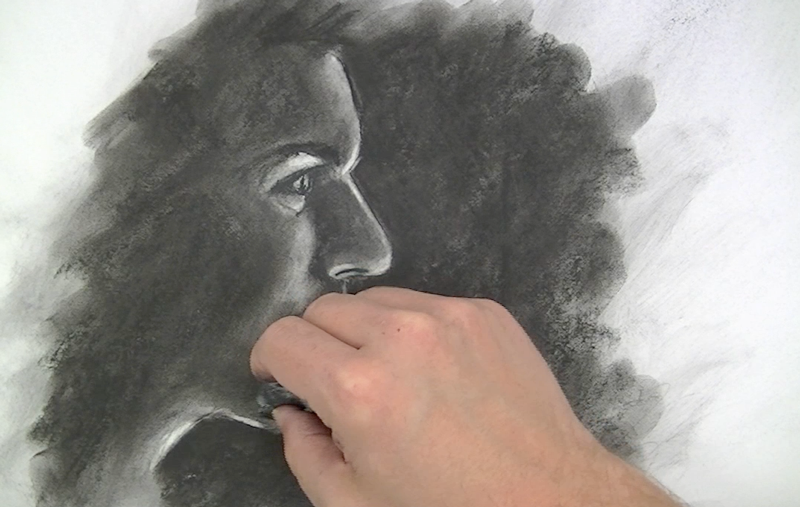
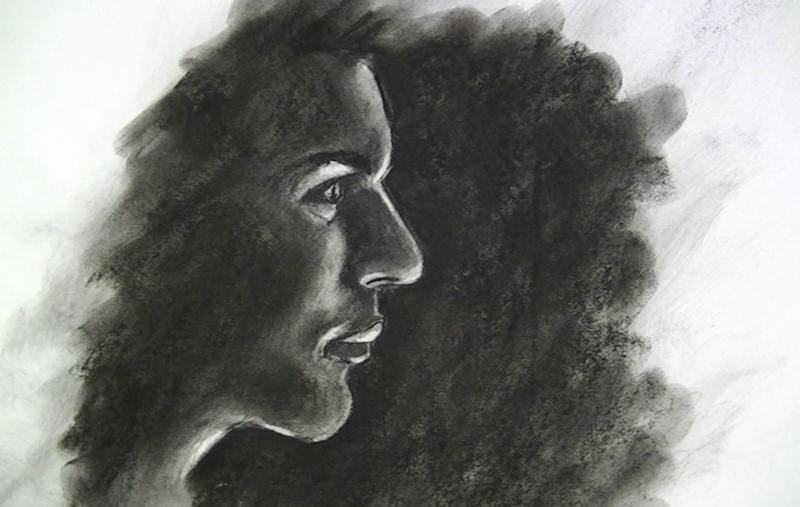
The completed sketch...
Here are some more art lessons that you may like...