By Matt Fussell
If you haven't heard, there's a new way to apply pastels in a painting. This new method is so revolutionary in the pastel world, that it almost could be considered a new medium. PanPastels have made a splash and are opening up doors to a whole world of mark-making possibilities. If you want to learn more about the "nuts and bolts" of PanPastels, you can check out this tutorial, which uses them exclusively in a landscape painting.
In this tutorial however, we'll look at combining PanPastels with traditional soft pastels. When the two are combined in a painting, the mark-making opportunities become endless, and some nice effects can be created.
Recommended Materials for This Tutorial
PanPastels
Colorfin Sofft Knife & Covers
Rembrandt Pastels
Canson Mi-Teintes Pastel Paper
Of course, with just about any medium, there are strengths and weaknesses. PanPastels and traditional soft pastels are no exception. However, when combined, they make up for each of their shortcomings, and the strengths of each application technique can be exploited.
PanPastels can be applied in a manner that is similar to painting. Special applicators, shaped as traditional brushes, are used to apply the material to the surface. Many pastelists like this connection to traditional painting. Brush strokes can be created with the pastel material making the finished image look more like a traditional painting. Of course, with traditional soft pastels, this look is more difficult to achieve and usually requires some delicate blending with the finger or blending tool. ADVANTAGE - PanPastels.

While this is a definite appeal to PanPastels, I have found it more difficult to produce defined lines or strong contrast with the medium. A heavy amount of material must be on the applicator in order to get rich tones. With one or two passes, the applicator needs to be reloaded. Even then, the marks are still "soft" making hard edges difficult to achieve. With traditional soft pastels, this isn't an issue at all. Defined lines and details are easy to produce with soft pastels. ADVANTAGE - Soft Pastels.
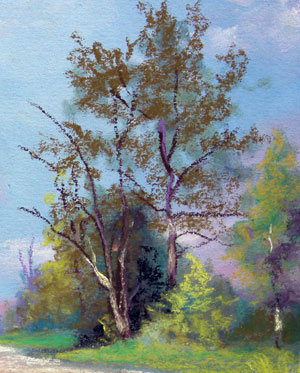
When PanPastels and soft pastels are combined, we can take advantage of each strength and use the counterpart to make up for the weakness.
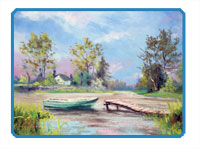
For softer areas in this example, PanPastels are used to create atmospheric effects. For harder and more defined sections that are found in the middleground and foreground, traditional soft pastels are used.
Here's a look the major steps from the video...
First, the background and the middleground is developed using PanPastels. Softer brush strokes are created using the applicators.
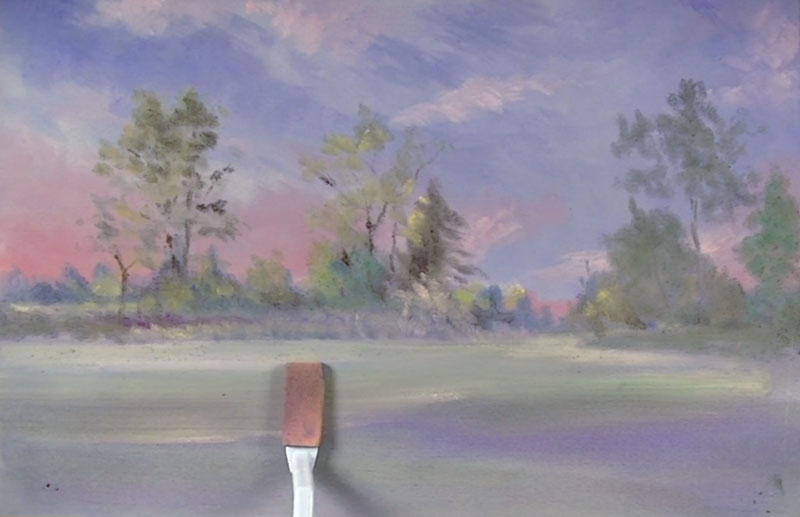
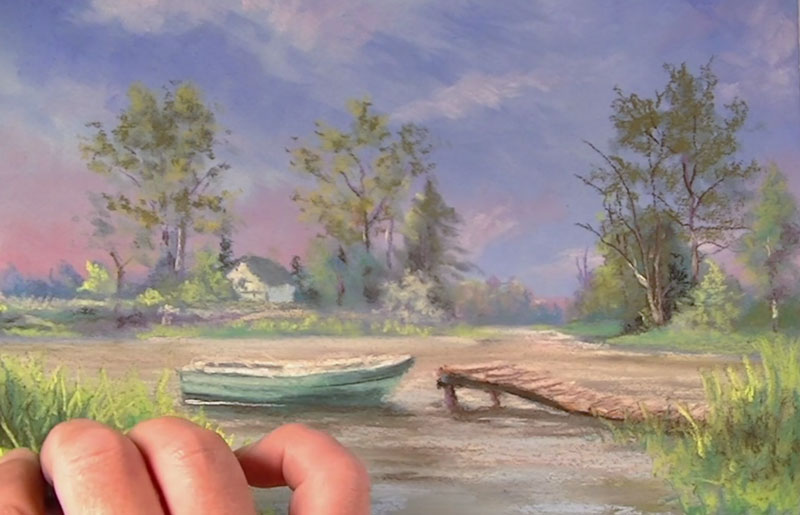
Next, details of the middleground are addressed with soft pastels increasing the contrast and further defining objects. Some areas are purposely left alone, allowing the marks made with the PanPastels to create the illusion of space and depth.
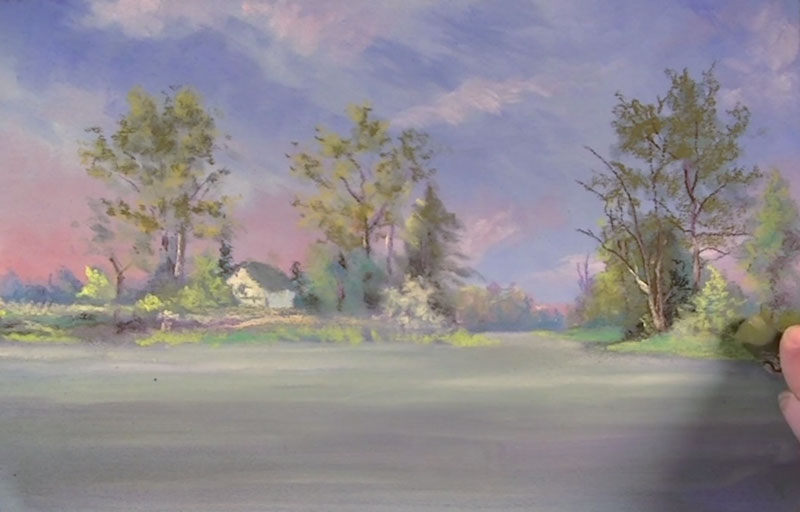
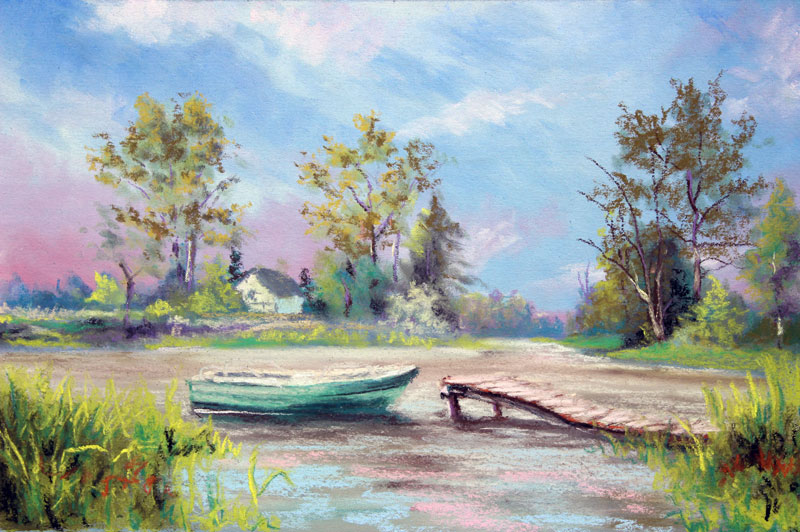
From here on out, all work is completed with soft pastels. The water, boat, and small dock are developed, along with the the grassy areas in the extreme foreground.
With the art complete, it can fixing using the fixative of your choice.
Here are some more art lessons that you may like...
PanPastels Landscape Tutorial
How to Paint Quickly with Pastels
Pastel Drawing Techniques