
By Matt Fussell
In this tutorial, we're going to take a look at how to draw a mouth using colored pencils. And in this case, the mouth will be slightly open, so we'll be able to see the teeth as well. We'll be using Prismacolor colored pencils and we'll be working on gray toned drawing paper for this demonstration.

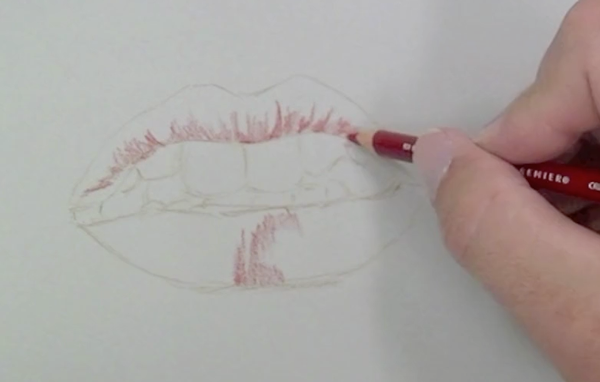
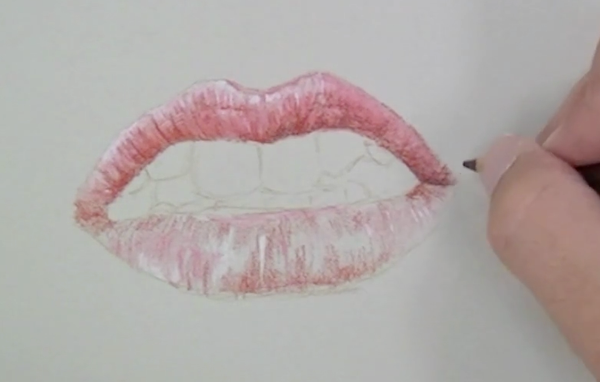
We'll begin by drawing the inside portion of the upper lip first using a light brown colored pencil. (No graphite should be used at all.) We'll do the same for the bottom portion of the of the lip and continue some of the outlines or contour lines of the teeth. In the early stages of the drawing, the marks should be light. The light brown is used to define the basic shapes of the mouth.

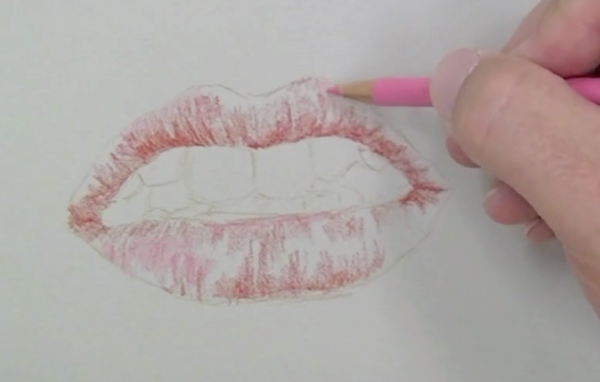
Once the mouth and the teeth are defined with contour lines, some of the local color can begin to be added. In this case, the color is red and is added by following the cross contour lines of the lips. In other words, the lines that are added with the pencil will follow the form of the lips.
There should be a slight curve in the marks that you make. More pressure is put on the pencil to deliver more material in areas where the value is a bit darker. This happens in the corners of the mouth and in a few areas on the lips.
It will also happen more frequently on the upper lip because typically, the upper lip is darker in value overall. This is because light usually originates from above, creating core shadow on the upper lip.
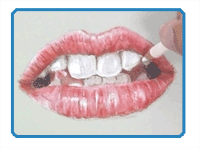
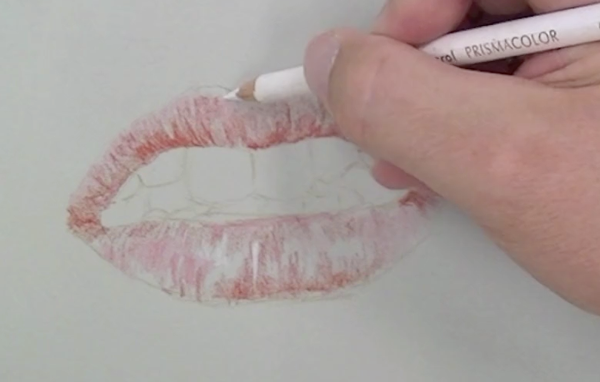
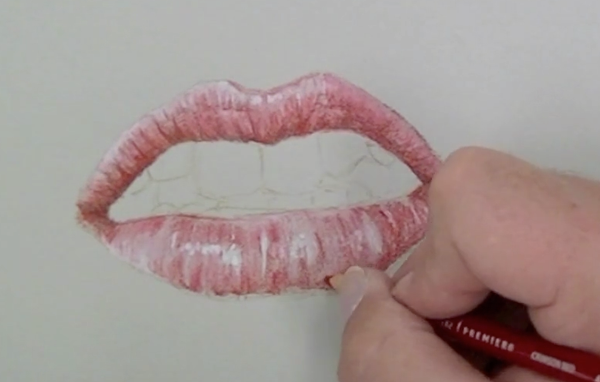
Once a good amount of red is added, other related values can be added. Pink is added next in areas where the lips are lighter in value.
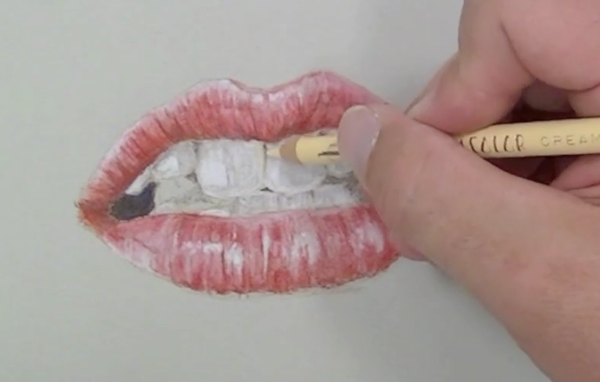
Before the entire surface is covered with colored pencil, white highlights are added with a white pencil. These areas should be intense with a heavy application in order to make strong highlights.
Now that the highlights have been initially addressed, the original red can be revisited. As layers are developed, the colored pencil material becomes richer and easier to move around on the surface.
The material can be blended and worked together, which is a technique called burnishing. The material is worked by adding layers of red over whites and pink until the color is rich and realistic.

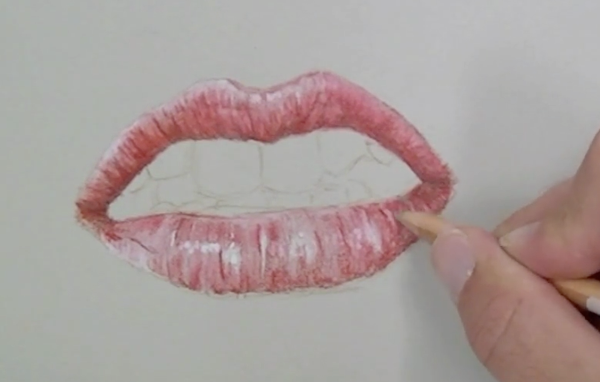
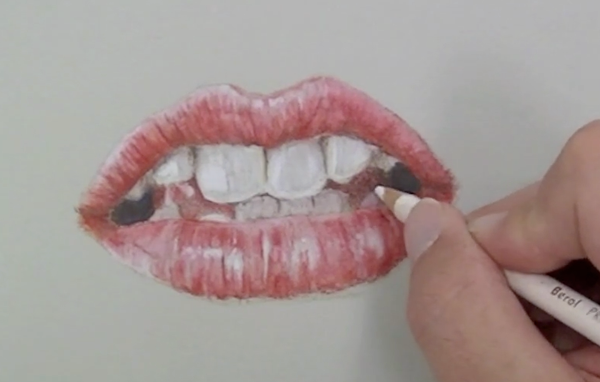
A dark brown is used to darken the value of the lips in areas. Brown is chosen over black because black is such a strong color.
Blues and browns will be used to make more natural-looking "blacks" in this drawing. For "blacks" with a warm tone, more brown is used and for "blacks" with a cooler tonality, more blue is used.
Since the bottom lip is lighter in value, more whites and pinks are used, but the layering process is the same.
To smooth out some of the lines that are created, a colorless blender is used to burnish the surface further.
Dark areas inside of the mouth are defined next using alternating applications of brown and blue to create "black"
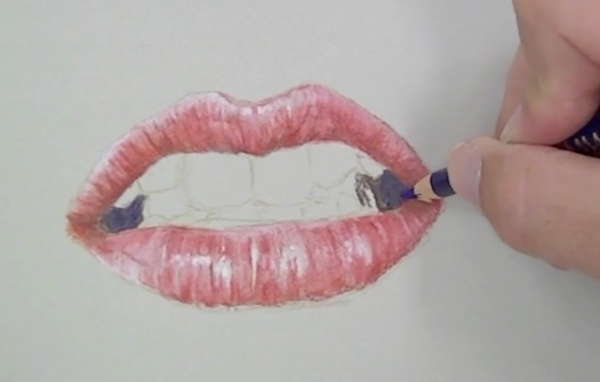
Shadows are created on the teeth by lightly applying brown. These areas are balanced out by adding white over the brown, resulting in realistic shadows. An application of cream in areas adds to the realism.
The tongue is addressed last by layering reds, brown, and white.
The following video tutorial will take you through the whole process of drawing a realistic mouth using colored pencils...


Here are some more art lessons that you may like...