By Matt Fussell
It seems that when it comes to drawing a nose, a lot of people struggle. This may be partly because noses are not very linear. An eye and a mouth are very linear making it is easy to isolate lines that could be drawn. A nose, however, is mostly value, with just a few lines. Because most of us are accustomed to drawing with lines instead of value, drawing the nose becomes difficult.
So, if you're hoping to have any success when drawing a nose,you must focus on recognizing the values in your reference and drawing them accurately.
Take a look at the importance of value in our example.
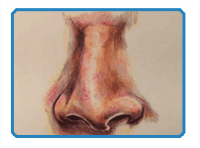
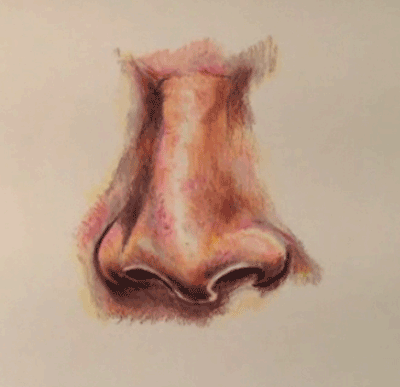
In the first image below, we have the completed drawing in full color.
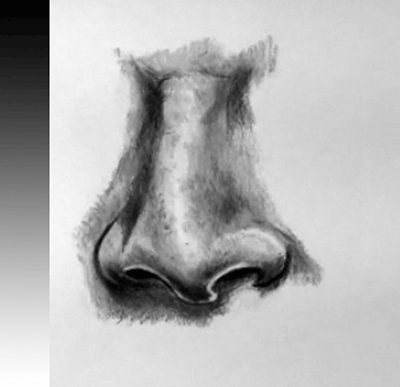
Now, below we have the same drawing without the local color. Instead, just the values are left. Notice that every value on the value scale is present. The light and dark values work together to create the illusion of the form of the nose.
Now, don't get me wrong. The color is important too. I tired to avoid using the manufactured skin tone in this demonstration. Instead, I chose to work with reds, yellows, browns, and white to create the skin tone. This made the drawing a bit more challenging, but well worth it.
There are a few things that you should keep in mind when using colored pencils.
1. Layer colors - Build up several layers of colored pencils on the surface in order to create some depth.
2. Mix colors - Often you can create more realistic colors by mixing them on your own. Seldom should you rely on the manufactured color to give you the best results.
3. Burnish layers - Since successful colored pencil drawings are layered, burnishing each layer with a white colored pencil or a colorless blender will help build up those layers.
4. Take your time - Colored pencils drawings take a while to do right. Don't be hasty and expect results immediately.
Here's a breakdown of the steps to drawing the nose seen in the video tutorial below...
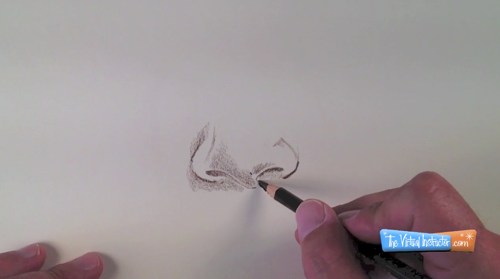
Step 1: Draw the contours and the darker values that exist on the nose with a dark brown colored pencil.
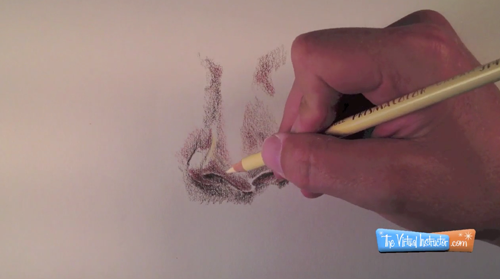
Step 2: Layer the application of colors by adding a dark red and then burnishing that color in using a cream pencil.
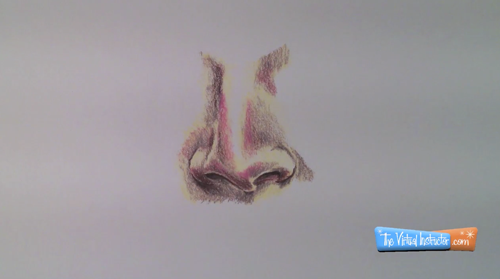
Step 3: Slowly build up the colors of the skin tones using red, yellow, brown, and white.
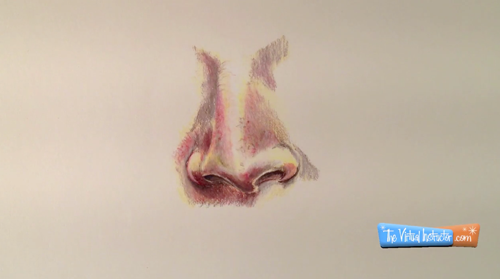
Step 4: Add the illusion of the texture of the nose by adding
a few marks to the bridge of the nose. Keep the bridge of the nose lighter in value so that it looks like it protrudes.
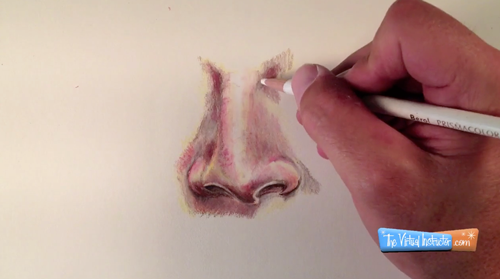
Step 5: Burnish each layer of colored pencil application to keep the application of media smooth.
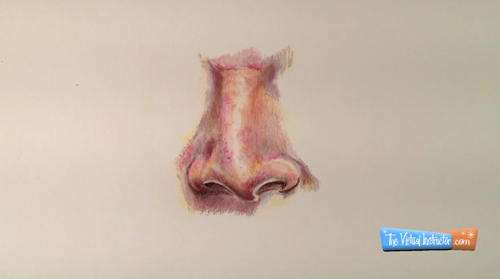
Step 6: Layer darker browns and sienna to make the skin tones look more realistic.
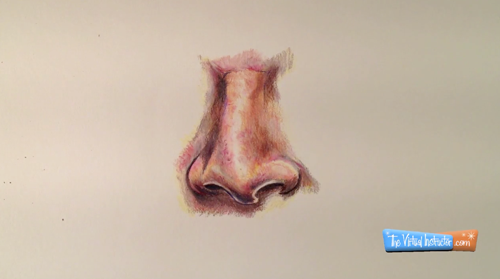
Step 7: Create natural blacks by adding dark blue to the browns in the drawing.
Here's how to draw a realistic nose with colored pencils...
Here are some more art lessons that you may like...