By Matt Fussell
Drawing fur is all about understanding the texture. Texture is one of the seven elements of art and refers to the way an object feels to the touch, or looks as it may feel if it were touched. In a drawing or any other form of 2D art, the artist creates the illusion of realistic texture. This type of texture is called "simulated texture".

The appearance of simulated texture in a drawing is created through the manipulation of another element, value. Value is the darkness or lightness of a color. The arrangement of dark values (shades) and light values (tints) is what ultimately leads to the illusion of realistic texture in a drawing.
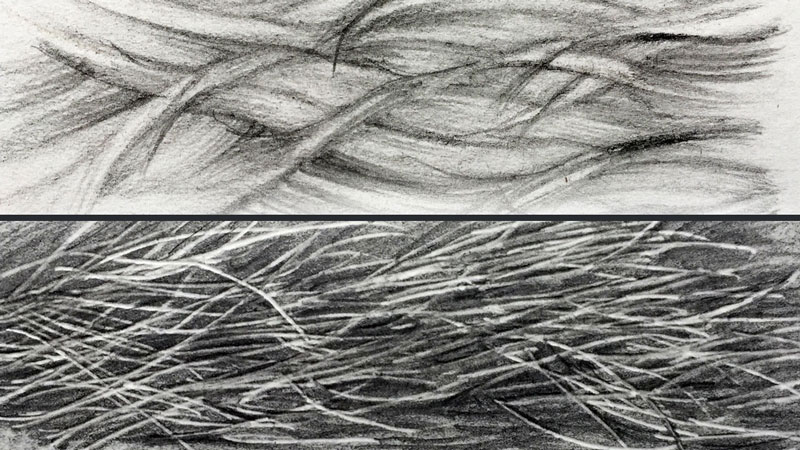
In this lesson, we take a look at two different approaches to creating the illusion of animal fur / hair by manipulating value to create the resulting texture.
For both demonstrations we'll work on Bristol paper, which is a heavier paper that is similar in thickness to card stock. The vellum surface is very smooth, but still has a bit of tooth (texture) suitable for accepting the applications of graphite.
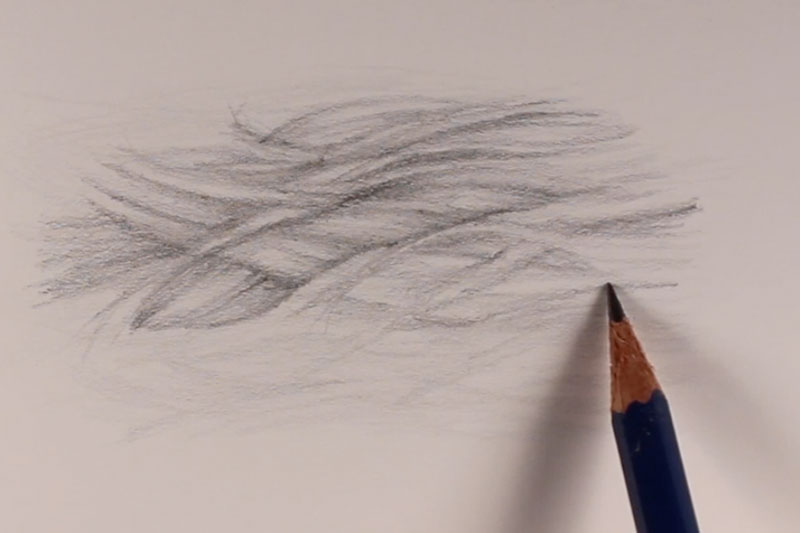
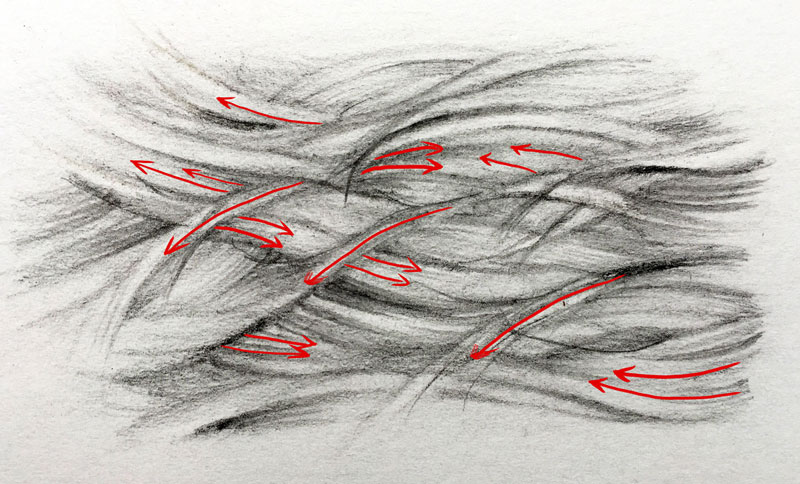
We'll begin with a light application of graphite using a "2H" pencil. Lines are mostly horizontal, but may curve and taper slightly. Marks are made in the same direction as the hair grows.
With the initial light applications of graphite on the surface, we can begin to develop the value. We'll use a softer, "HB" pencil to begin to "push" some of the values darker. We'll still use a light touch as we define small patches of shadow.
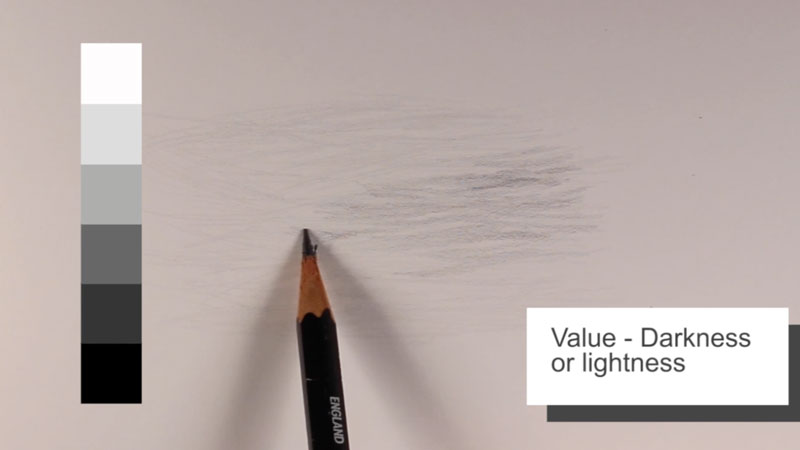
For softer fur, we'll need to think about the hair as "clumps", instead of individual hairs. We'll define each collection of strands by the darker shadows that are placed around them, leaving locations of lighter value for highlights.
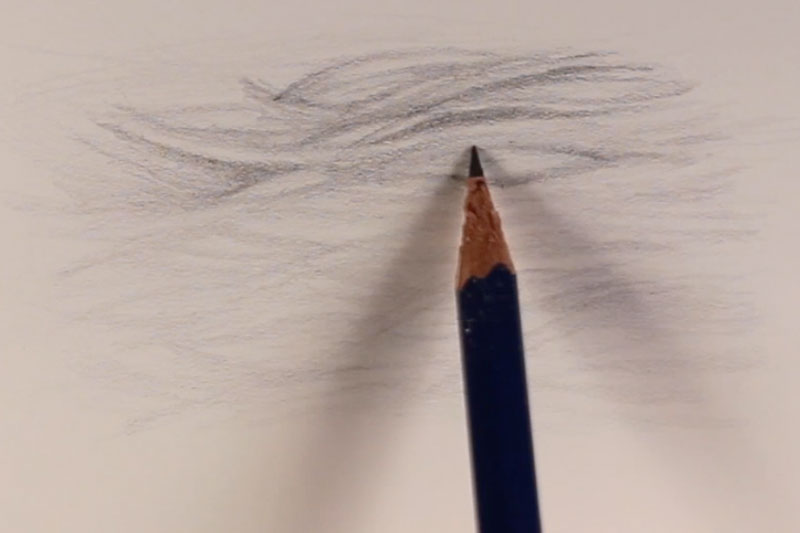
As values are progressively darkened, the "clumps" of hair begin to make a bit more sense and the hair begins to have a bit of depth.
Highlights can be lifted out using a eraser, increasing the range of value and contrast in the drawing.

We can define the shadows and the texture even further by placing directional lines in the locations of strongest shadow. These lines will flow with the contours of each "clump" of hair.
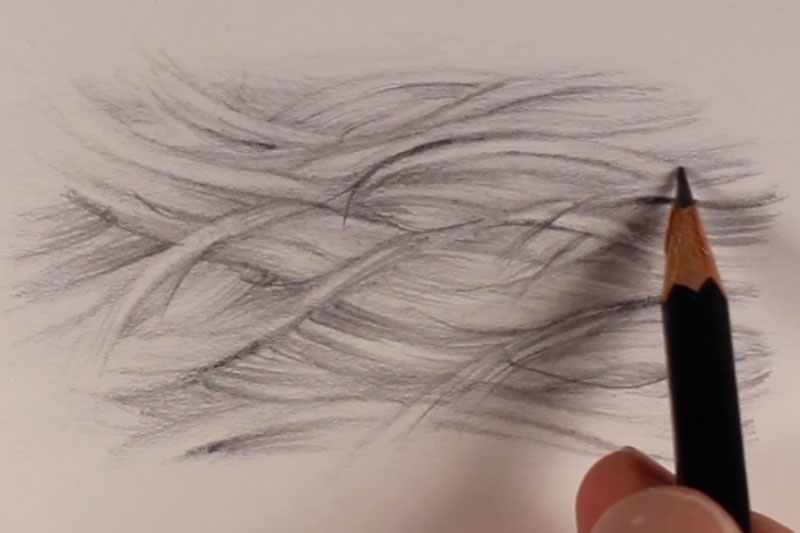
A few stray hairs are added and a few of the darkest shadows are darkened to complete the fluffy fur.
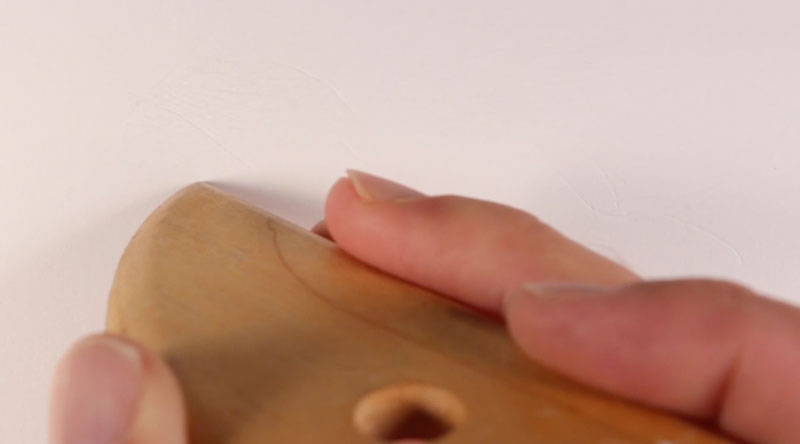
For coarse hair, we'll start by considering the highlights. A tool capable of making indentions in the surface of the paper is used to create the initial indentions. For this demonstration, I am using a clay tool, but a stylus, blunt needle, or even the end of a paint brush will work as well. Indentions are madein the same manner as marks would be made with a pencil. Instead of thinking of "clumps", we'll create indentions for each individual hair.
A soft graphite pencil ("4B" or softer) is gently layered over the indentions. This application is then blended with a blending tool.
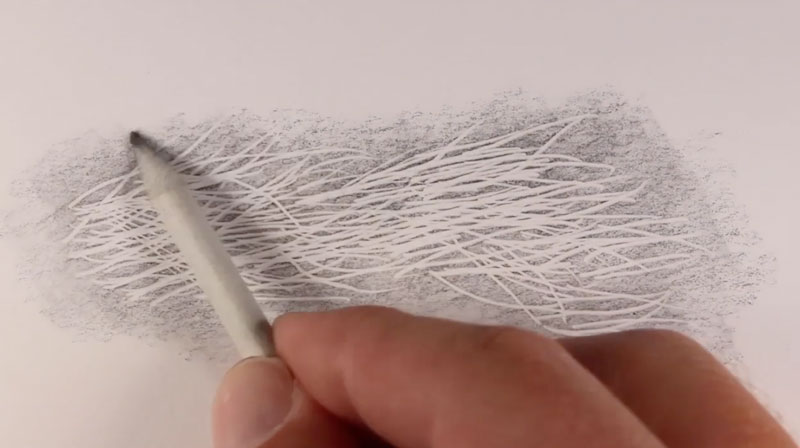
Next, an "HB" pencil or harder can be applied to develop the shadows. A harder pencil can penetrate the indentations. Values are made a bit darker in a few locations creating the illusion of depth.
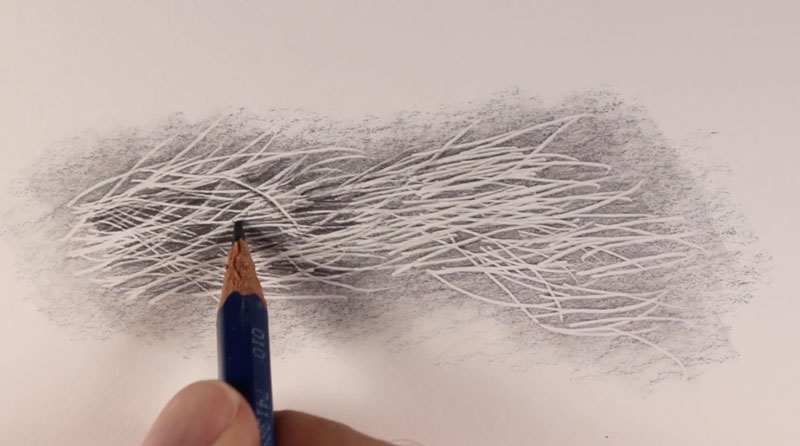
We'll continue darkening the values in order to create a full range of value and the contrast necessary to create the illusion of the texture.
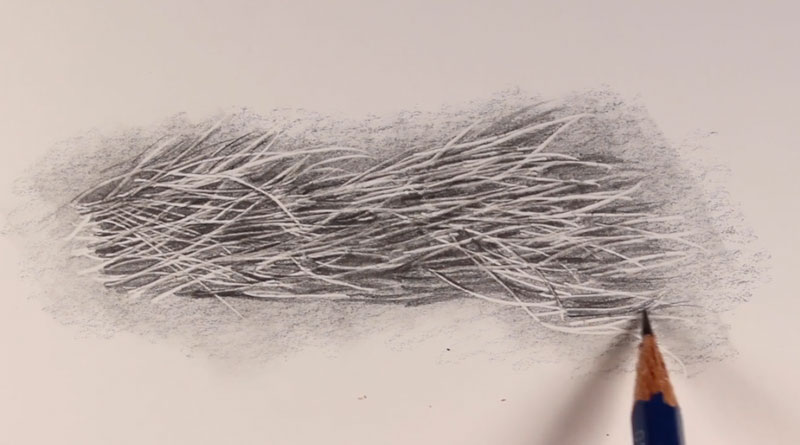
So whether the fur is soft and fluffy, or coarse and rough, it's ultimately all about the texture. And the key to creating the illusion of texture in a flat image is about the value and the relationships of light and shadow.
