By Matt Fussell
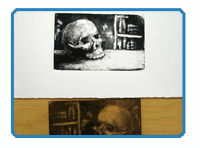
Monotyping is a type of printmaking. Monotype creation differs from monoprinting because usually only one image is created. Monoprinting, despite the name, usually produces more than one print. Monotypes are usually created by applying printing ink (oil or water-based) to a non-porous surface like plexiglass.Ink is removed from the surface with a rag, Q-tips, or brushes. The plate is then run through a press with paper on top of it to create a print. The steps of monotyping are as follows...
Step 1: Gather your supplies. You will need rag paper that has been torn to match your desired print size. Use a metal ruler to help in tearing the paper. Printing ink. (Water-based or oil-based) A small tray or surface to apply your ink. A brayer (a small roller used to apply ink- can be purchased at an art store). A sheet of Plexiglas sized to match desired print. Q-tips, rags, or brushes.
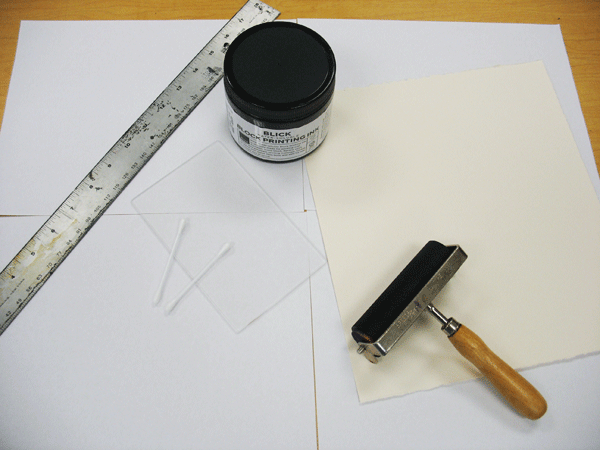
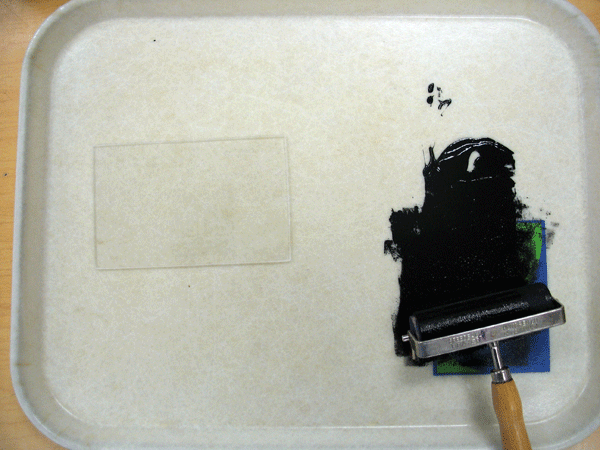
Step:2 Apply a small bead of ink to a surface. Charge the brayer by rolling it back and forth gently over the ink. Roll the brayer forward, then backward, then forward to the left, then backward, then forward to the right, and so on.
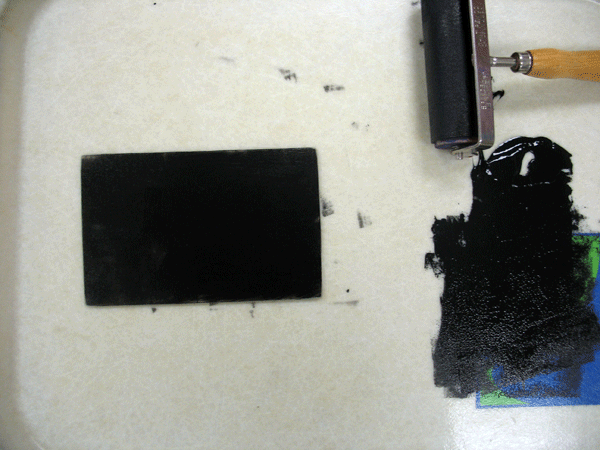
Step 3: Use the brayer to cover the entire surface of the Plexiglas.
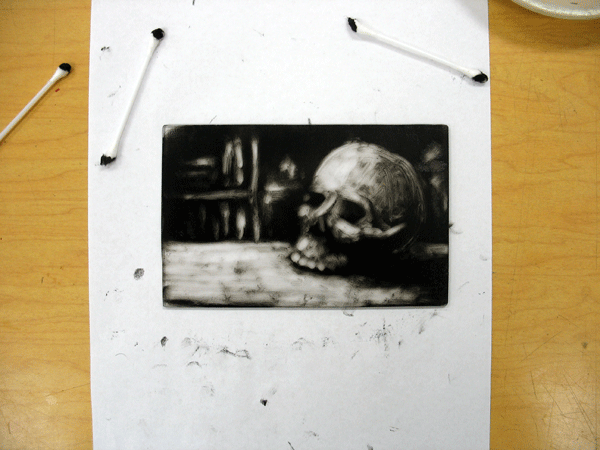
Step 4: Use a rag, Q-tip, or brush to wipe away the areas that you want to represent lighter values.
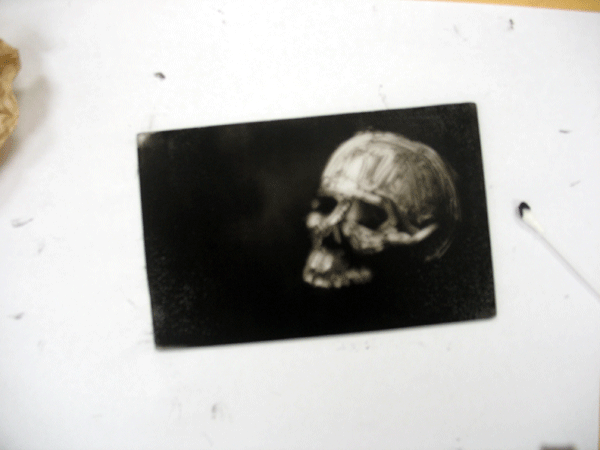
Step 5: When you are finished wiping all the lighter areas out, you are ready to move on.
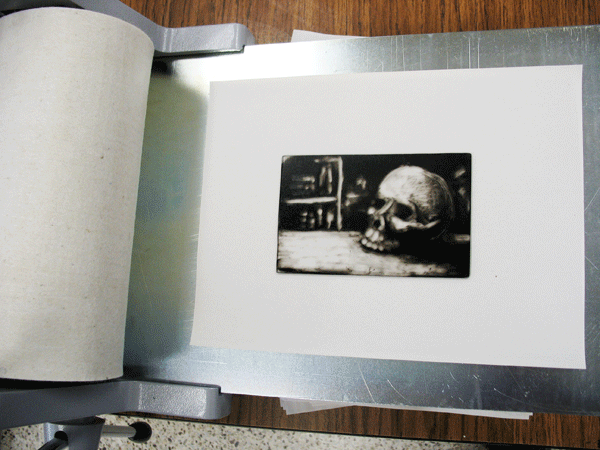
Step 6: Make sure that the tension is correct on your printing press. Take your Plexiglas to the printing press and lay it with the ink side up. Lay your rag paper gently on top of the glass. Once it is down, do not move it. Roll your print through the press at a consistent speed without stopping.
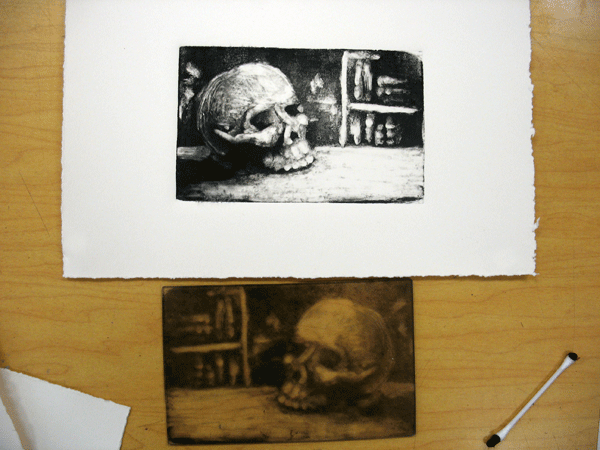
Step 7: Gently peel back your paper from the plate to reveal your monotype.
Here are some more art lessons that you may like...